Pages
AD+Sign Pro
A Page is where your digital signage content is added to be shown on your AD+Sign Player. A Page's properties include:
| Property | Description |
| Resolution (W & H) | Pixel width and height of the Page. Typically matches the pixel resolution of your Player's connected display. |
| Background Colour | Hex colour value of the Page's background. |
| Text Colour | The default hex colour value of the Page's text. Can be overridden in certain Element settings |
Each Player creates its own Page, named 'Default'. This page cannot be removed and serves as the default page for displaying content. Global Pages can be assigned to multiple Players at once, see Global Resources - Pages for more details.
Creating Content
Find the Player you wish to create content for, click it to navigate to its Preview page. Click the Edit Page button to navigate to the Canvas.
Canvas
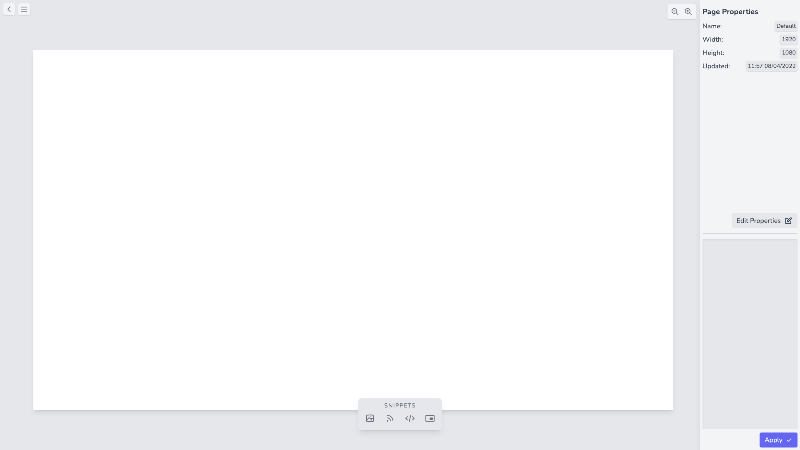
In the top-left corner of the page are the navigation options for navigating to other pages within the application.
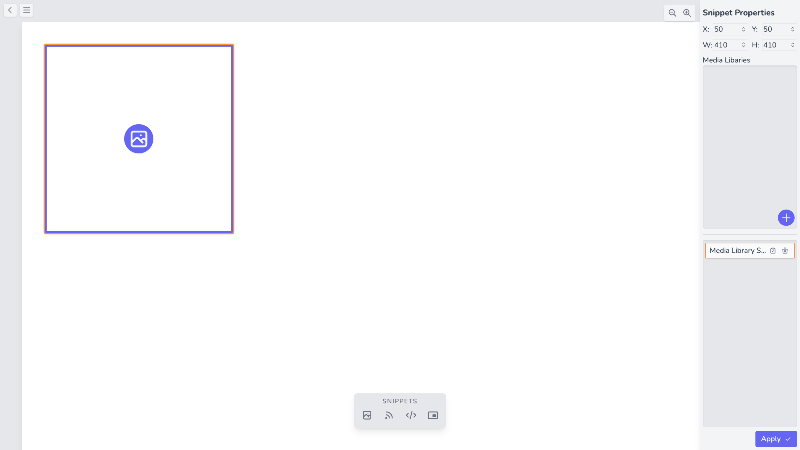
The majority of the screen is the canvas view, where you can zoom and pan around the canvas to view your content.
On the bottom of the screen is the Elements Panel, where you can add Elements to the Page.
The right portion of the screen is the Properties Panel. This is where options for individual elements will be configured.
Using Page Templates
When first editing a Player's default page you will be prompted to try using AD+Sign Page Templates. These are pre-configured and fully editable pages containing a variety of content for you to make your own.
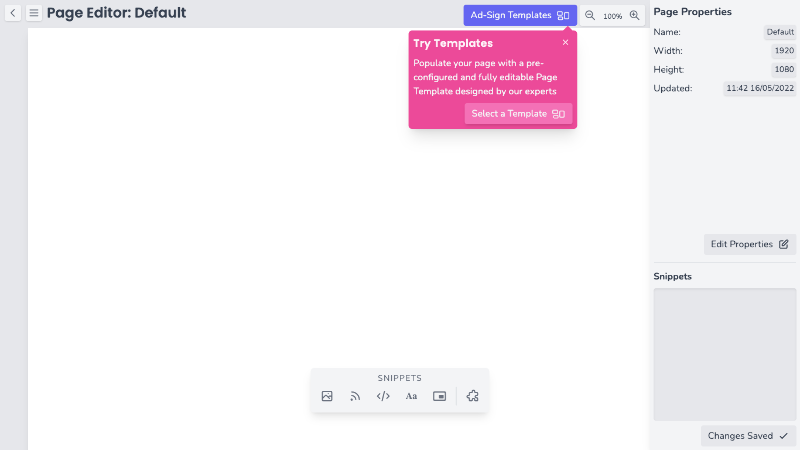
To apply a Page Template to your Page, click AD+Sign Templates
This will open a Page Template Selection modal where you can choose the Page Template you wish to apply. You can use the search bar to search for a specific Page Template or use the filter options to find templates for specific screen resolutions or orientations.
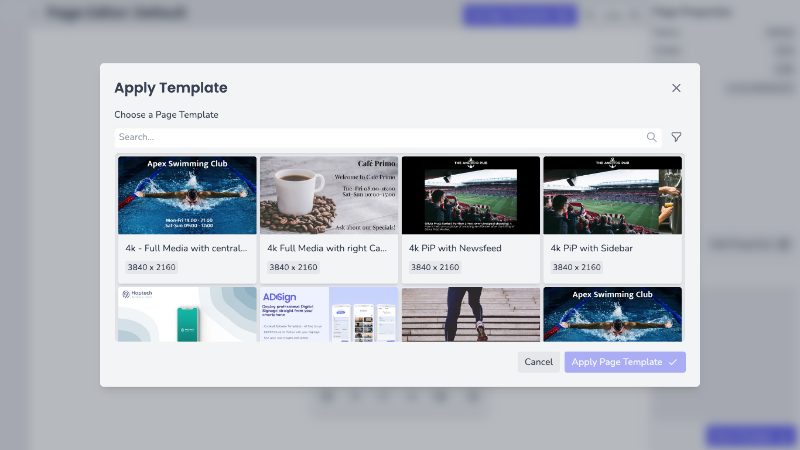
Once you've selected your Template, click Apply Page Template
Editing Page Properties
With no Elements selected, Properties Panel will show details of the Canvas Page. Here you can click 'Edit Properties' to edit the Canvas Page.
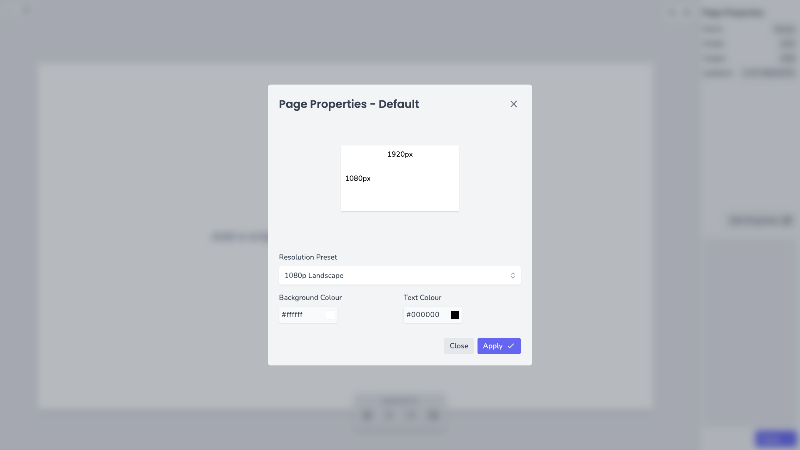
This will open a modal with inputs for Resolution, Background Colour and Text Colour. You can choose a Resolution Preset from a list of common page resolutions, or use the 'Custom Resolution' option to define your own.
To apply these changes to your Page, click Apply
Adding a Element
To add a Element to the Page, click the icon button in the Elements Panel. You can add a Media Library to the Page using the photograph icon . The Element will be added to the Page and shall appear in the Canvas.
Selecting Elements
You can select a Element by clicking on it, either on the canvas or in the Elements portion of the Properties Panel. It will highlight with an orange outline when selected.
Moving Elements
Elements can be moved by clicking and dragging it into position on the canvas. Alternatively, you can use the X and Y coordinates in the Element Properties when the Element is selected. Here you can type the pixel coordinates of where you'd like to place the Element.
A Element's X and Y coordinates refer to the top-left corner of the Element's bounding box.
Resizing Elements
Elements can be resized using the W and H values in the Elements Properties when the Element is selected. These values refer to the Width and Height of a Element in pixels.
Remove Elements
Remove a element by finding it in the Elements portion of the Properties Panel and clicking the button.
Applying Changes
To ensure that your changes are applied to the Page, click Save Changes . Your changes will be reflected immediately in the Page Preview.
- If you are editing a Player Page and the Player is online, you will have the option to Save and Refresh Player
- This will save your changes and refresh the Player's content to reflect the changes you have made