Automations
AD+Sign Pro
When using the AD+Sign DS-2 Player, you can use Automations to change your content or send control commands to connected devices.
DS-2 Hardware Configuration
Your DS-2 needs a Hardware Config assigned to it before you can use Automations.
The DS-2 has a number of configuration options to help you get the most out of your signage experience. These include:
Creating a Hardware Config
- Navigate to the Automations page
- Click New Hardware Config
- Enter a name for your Hardware Config
- Configure the settings you need
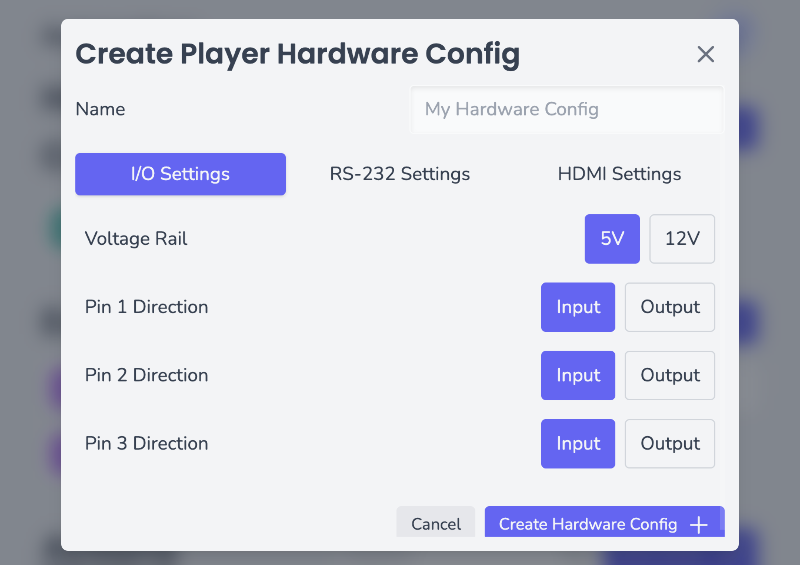
- Click Create Hardware Config
Your Hardware Config will now be in your Organisation's Hardware Config list
Assigning a Hardware Config to a DS-2
- Navigate to the Player you want to assign the Hardware Config to
- Ensure the Player is registered to a DS-2
- Navigate to the Automations tab
- Click the Settings Cog button
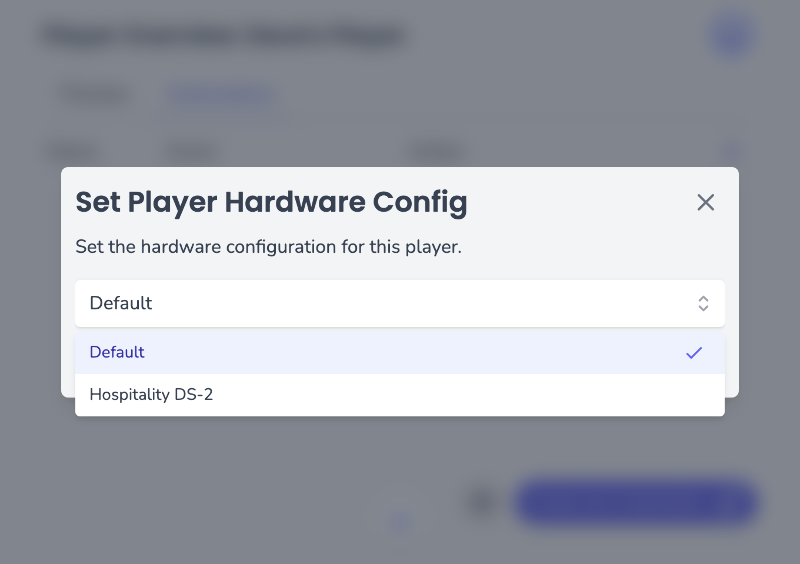
- Select the Hardware Config you want to assign
- Click Save
Your Hardware Config will now be assigned to your Player
Editing a Hardware Config
- Find your Hardware Config in the Hardware Config list on the Automations page
- Click the Hardware Config you wish to edit
- Edit your Hardware Config's name or settings
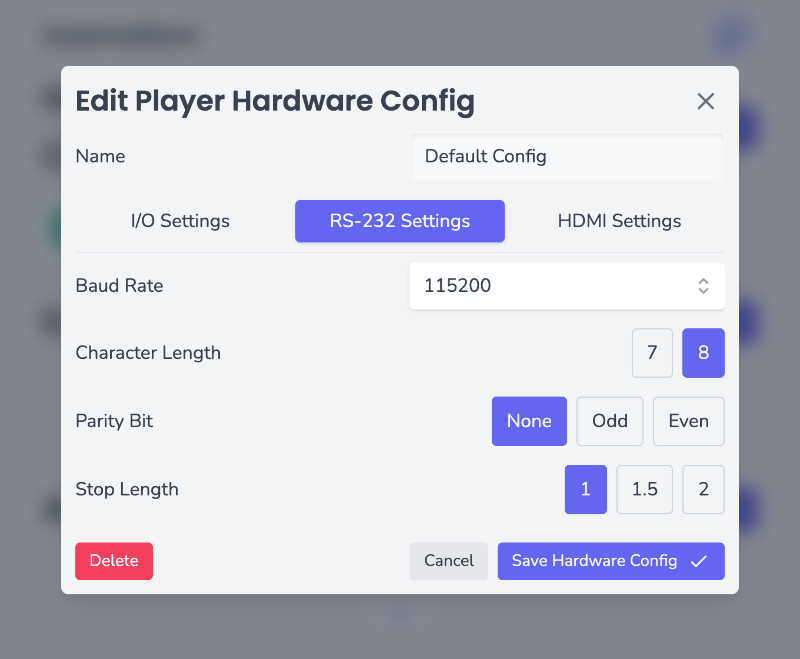
- Click Save Hardware Config
Your Hardware Config will now be updated
Deleting a Hardware Config
- Find your Hardware Config in the Hardware Config list on the Automations page
- Click the Hardware Config you wish to delete
- Click Delete
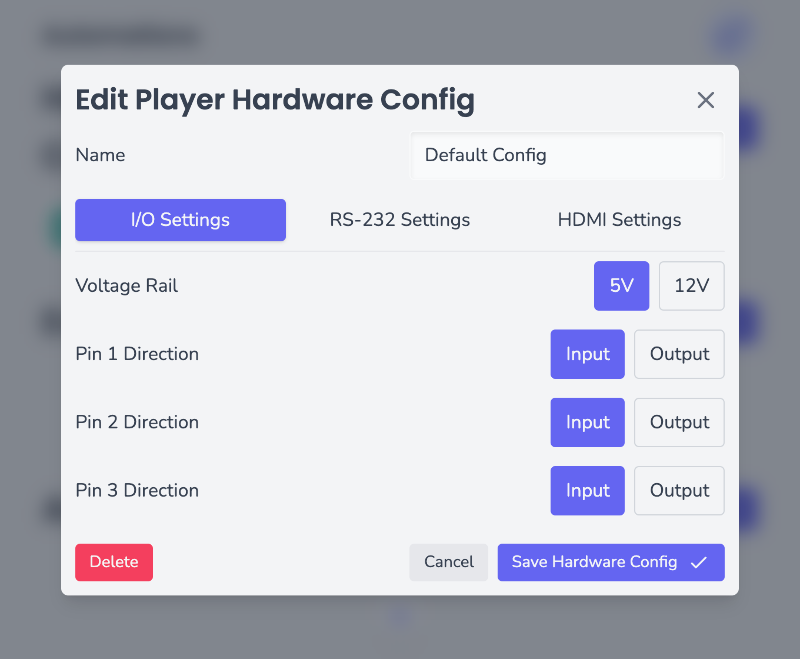
- In the confirmation dialog, click Delete
Your Hardware Config will now be deleted
Automations
Automations are a combination of an Event and one or many Actions. These Events and Actions can be used to change your content or send control commands to connected devices at a certain time or on some command input.
Creating an Automation
- Navigate to the Player you want to assign the Automation to
- Ensure the Player is registered to a DS-2
- Navigate to the Automations tab
- Click Create new Automation
- Enter a name for your Automation
- Select an Event
- Select one or many Actions
- Optionally enable Action Delay and set a time delay between firing Actions
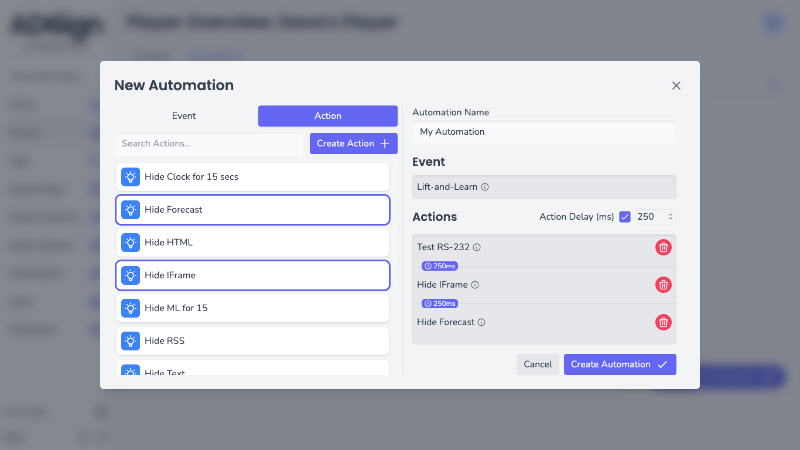
- Click Create Automation
Automations are synced to your DS-2 along with your signage content. To sync your Automation settings, click Refresh Player in the Player Preview
Editing an Automation
- Find your Automation in the Automations list of your Player
- Click the Edit Pencil button
- Edit your Automation's name, Event, Actions or Action Delay
- Click Update Automation
Your Automation will now be updated
Deleting an Automation
- Find your Automation in the Automations list of your Player
- Select your Automation by clicking the checkbox
- You can select multiple Automations and delete them all at once
- To select all Automations, click the checkbox in the table header
- Click the Delete Trash Can button
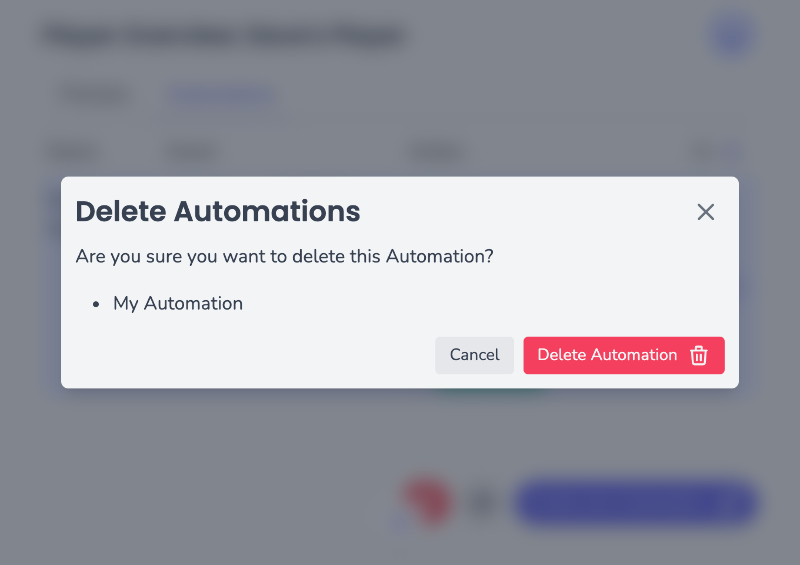
- In the confirmation dialog, click Delete Automation(s)
Your Automation(s) will now be deleted
Events
Events are the triggers that start an Automation. These can be a specific time, a command input, or a change in the Player's status.
Creating an Event
- Navigate to the Automations page
- Click New Event
- Enter a name for your Event
- Select the Event type
| Event Type | Description |
| Player Loads | When the content on your Player is refreshed - after a reboot or when synced from AD+Sign Pro |
| Receive RS-232 | When RS-232 data is received through tht RS-232 data that will start an Automation when received through the RS-232 port |
| I/O State Transition | When a GPIO pin changes state - from high to low, low to high or either |
| Time/Date | Specify a time to start the Automation, then optionally repeat daily, weekly, monthly or yearly. Repeat the Event forever, until a specific date or for a number of repeats. |
- Configure the settings you need
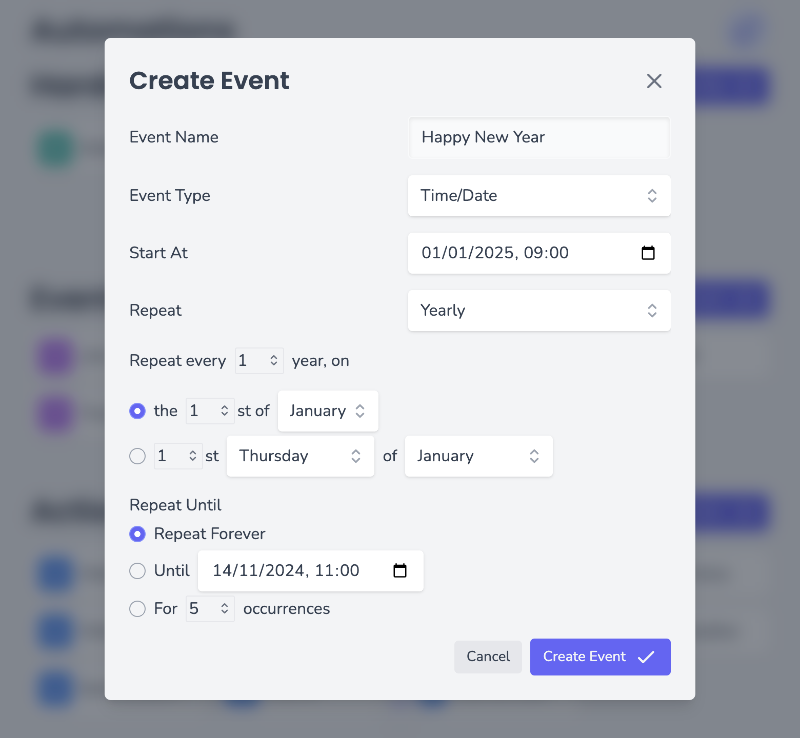
- Click Create Event
Your Event will now be in your Organisation's Event list
Editing an Event
- Find your Event in the Event list on the Automations page
- Click the Event you wish to edit
- Edit your Event's name or settings
- Click Save Event
Your Event will now be updated
Deleting an Event
- Find your Event in the Event list on the Automations page
- Click the Event you wish to delete
- Click Delete
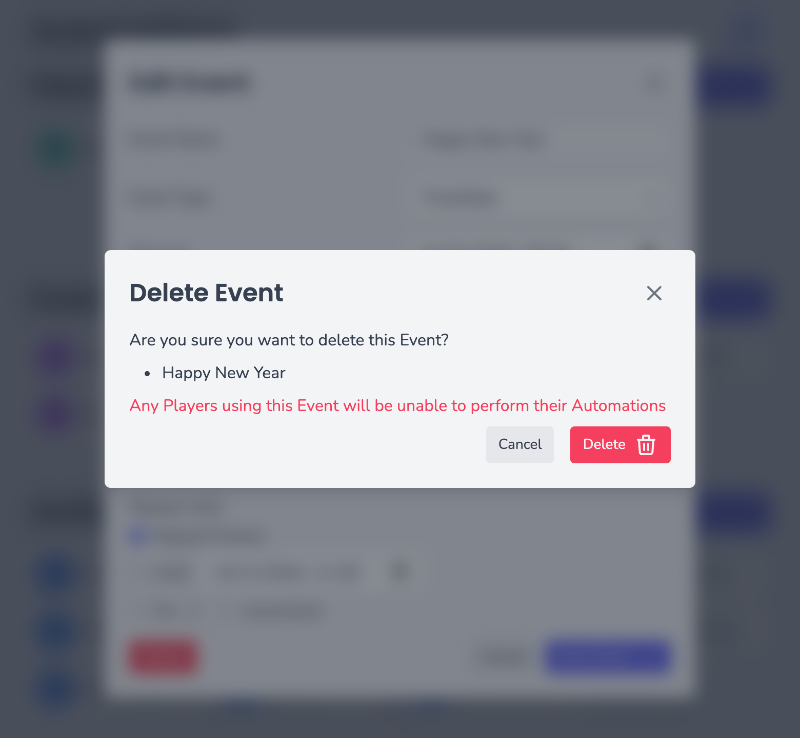
- In the confirmation dialog, click Delete
Your Event will now be deleted
Actions
Actions are the commands that are triggered by an Event. These can be changing your content or sending control commands to connected devices.
Creating an Action
- Navigate to the Automations page
- Click New Action
- Enter a name for your Action
- Select the Action type
| Action Type | Description |
| Send IR | Specify IR data to emit from the IR bud If your IR data contains CCF data with a non-0 Sequence 2 you will have the option to repeat your IR command |
| Send RS-232 | Send RS-232 data through the RS-232 port |
| I/O State Transition | Change the state of a GPIO pin - set it high, low or toggle it |
| Toggle Element | Choose an Element from a Global Page to show or hide. Can add a duration to allow for temporarily toggling Elements |
| Send CEC (HDMI Out) | Send CEC data out of the HDMI Out port |
| Send CEC (HDMI In) | Send CEC data out of the HDMI In port |
- Configure the settings you need
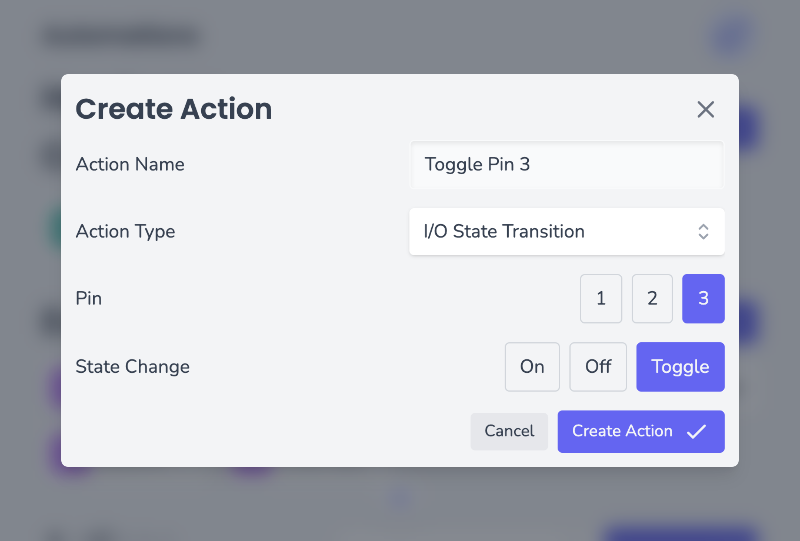
- Click Create Action
Your Action will now be in your Organisation's Action list
Editing an Action
- Find your Action in the Action list on the Automations page
- Click the Action you wish to edit
- Edit your Action's name or settings
- Click Save Action
Your Action will now be updated
Deleting an Action
- Find your Action in the Action list on the Automations page
- Click the Action you wish to delete
- Click Delete
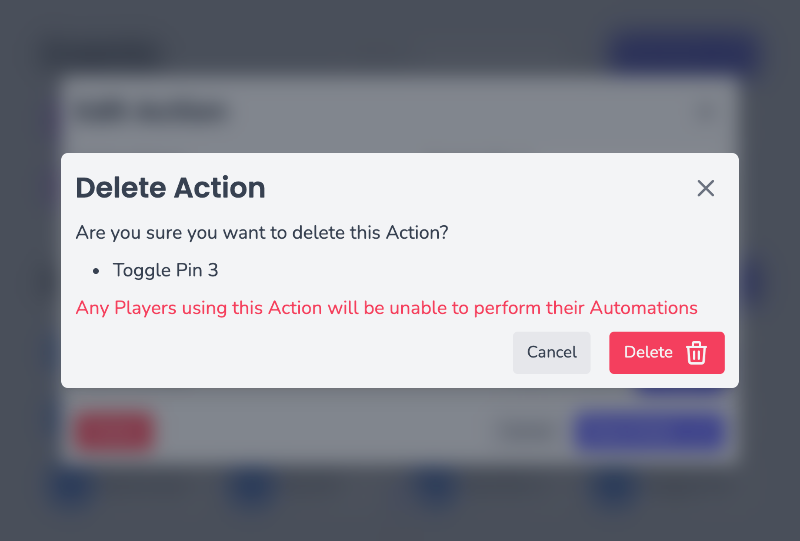
- In the confirmation dialog, click Delete
Your Action will now be deleted