


NEXT
Reset to Factory SettingsAdjusting Settings
DS-1
Player PIN, Name & Mode using the AD+Sign App
Using the DS-1 in Local Mode requires the use of the AD+Sign app. The app can be used for configuring your DS-1 settings, as well as deploying content.
- Ensure your DS-1 is paired with your AD+Sign app.
- In the AD+Sign App, navigate to Players and find your DS-1 listed there.
- If the DS-1 is not shown, see Pairing with a Player before continuing.
- In the Players page, select the Player you wish to alter the settings for.
- In the Player page, press 'Configure'.
- Follow the on-screen instructions in the AD+Sign app to complete the setup of the DS-1 Player.
If you change the PIN for this Player, this PIN will be needed to alter any DS-1 settings from this point forward.
- Ensure you select the correct working mode for creating your content - Local Mode or Cloud Connected. If you are unsure, see Deploying Content
- If you are having problems setting up your DS-1 Player, refer to Troubleshooting
The DS-1 settings are now complete. Tap the 'Close' button to exit the Setup stage.
Network Settings - AD+Sign App
- Navigate to the Players page, tap 'Add Player' then 'Setup New Player'
- In the Setup page, tap 'DS-1'.
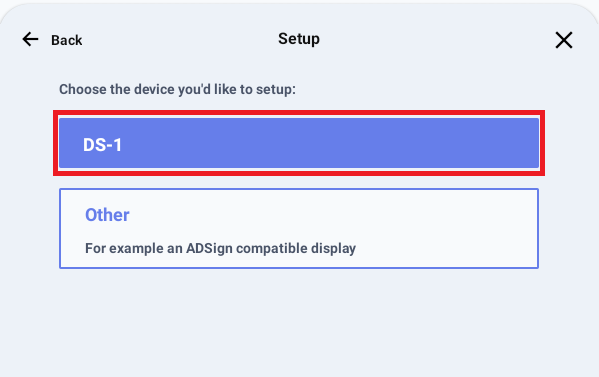
Setup Page - Setting up a DS-1 - Follow the subsequent instructions in the AD+Sign app to complete the setup of the DS-1 Player.
- If you have already setup the Player’s PIN, Name and Mode and wish to retain these, you can skip these sections as indicated in the AD+Sign app instructions
- If you are having problems setting up your DS-1 Player, refer to Troubleshooting
The setup of your DS-1 Player is now complete
Network Settings - Mouse & Keyboard
- Connect a USB mouse and keyboard to the USB ports on the AD+Sign DS-1.
- Using the mouse, click anywhere on the screen to reveal the DS-1 app menu.
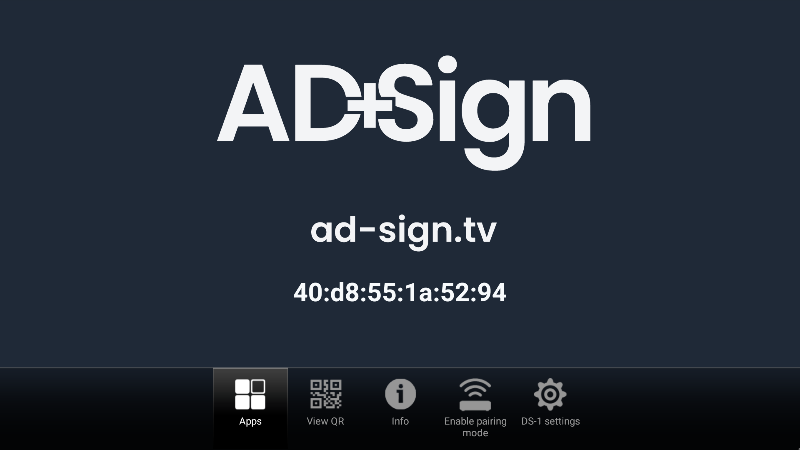
DS-1 on-screen menu - Click the 'DS-1 Settings' option and enter your 6-digit PIN.

Entering DS-1 PIN At any point you can use Right-Click to navigate back to the previous page. - In the Settings page, click the 'Network' menu item.
- Choose either the wired Ethernet or WiFi settings menu item to suit your network connection.
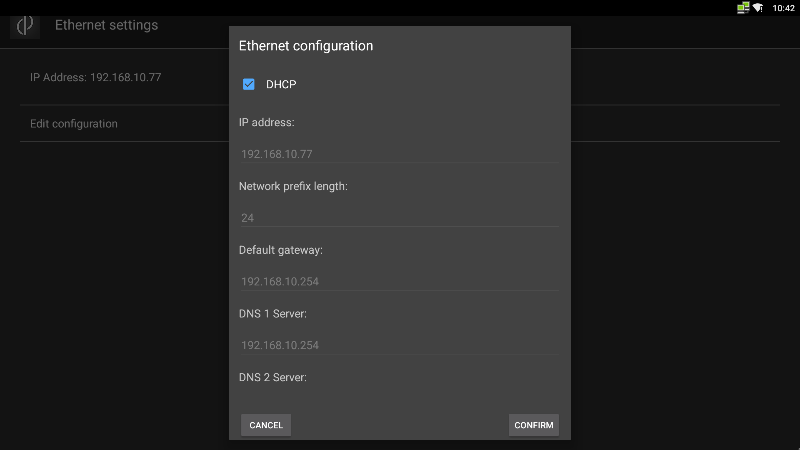
Network Settings - Ethernet 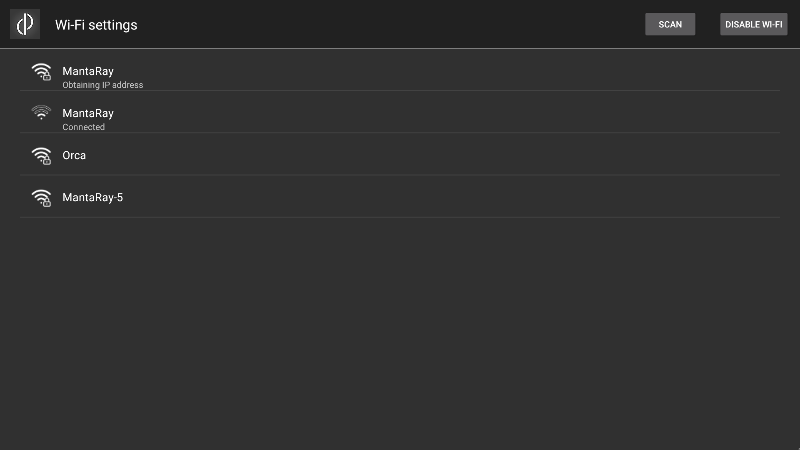
Network Settings - WiFi - Enter the network settings to suit your network requirements.
- Once the correct network settings are confirmed, use Right-Click to navigate back to the main DS-1 app page.
The network settings of your DS-1 are now complete
Display Resolution Settings
- Connect a USB mouse and keyboard to the USB ports on the AD+Sign DS-1.
- Using the mouse, click anywhere on the screen to reveal the DS-1 app menu.
DS-1 on-screen menu - Click the 'DS-1 Settings' option and enter your 6-digit PIN.
At any point you can use Right-Click to navigate back to the previous page.
- In the Settings page, click the 'Display Resolution' menu item.
- Select your display resolution from the resolution list and click 'Confirm'.
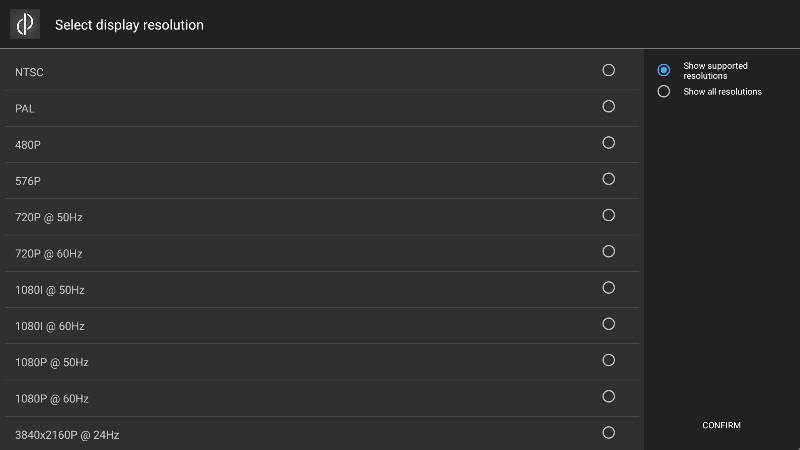
DS-1 Display Resolution Settings - The connected display will adjust according to the selected resolution. You may experience the display going blank for a short period.
- The display will show a confirmation dialogue. If this is being displayed correctly, click 'OK'.
- If the resolution is not supported by the display, the confirmation dialogue will timeout after several seconds and the DS-1 will revert back to the starting display resolution.
- Once the correct network settings are confirmed, use Right-Click to navigate back to the main DS-1 app page.
The display resolution settings of your DS-1 are now complete