


NEXT
Adding Picture-in-PictureCreating Slideshows
AD+Sign APP
- Navigate to the Slideshows page and tap the 'New Slideshow' button
- Give your new Slideshow a name and tap 'Create'
The new Slideshow will be added to the Slideshow list on the Slideshows Page
Adding Slides
Slides in a Slideshow are pages of content that will be cycled through on your connected display. To add a Slide to your Slideshow:
- Tap the Slideshow in your Slideshow list to expand it, then tap 'Add Slide'
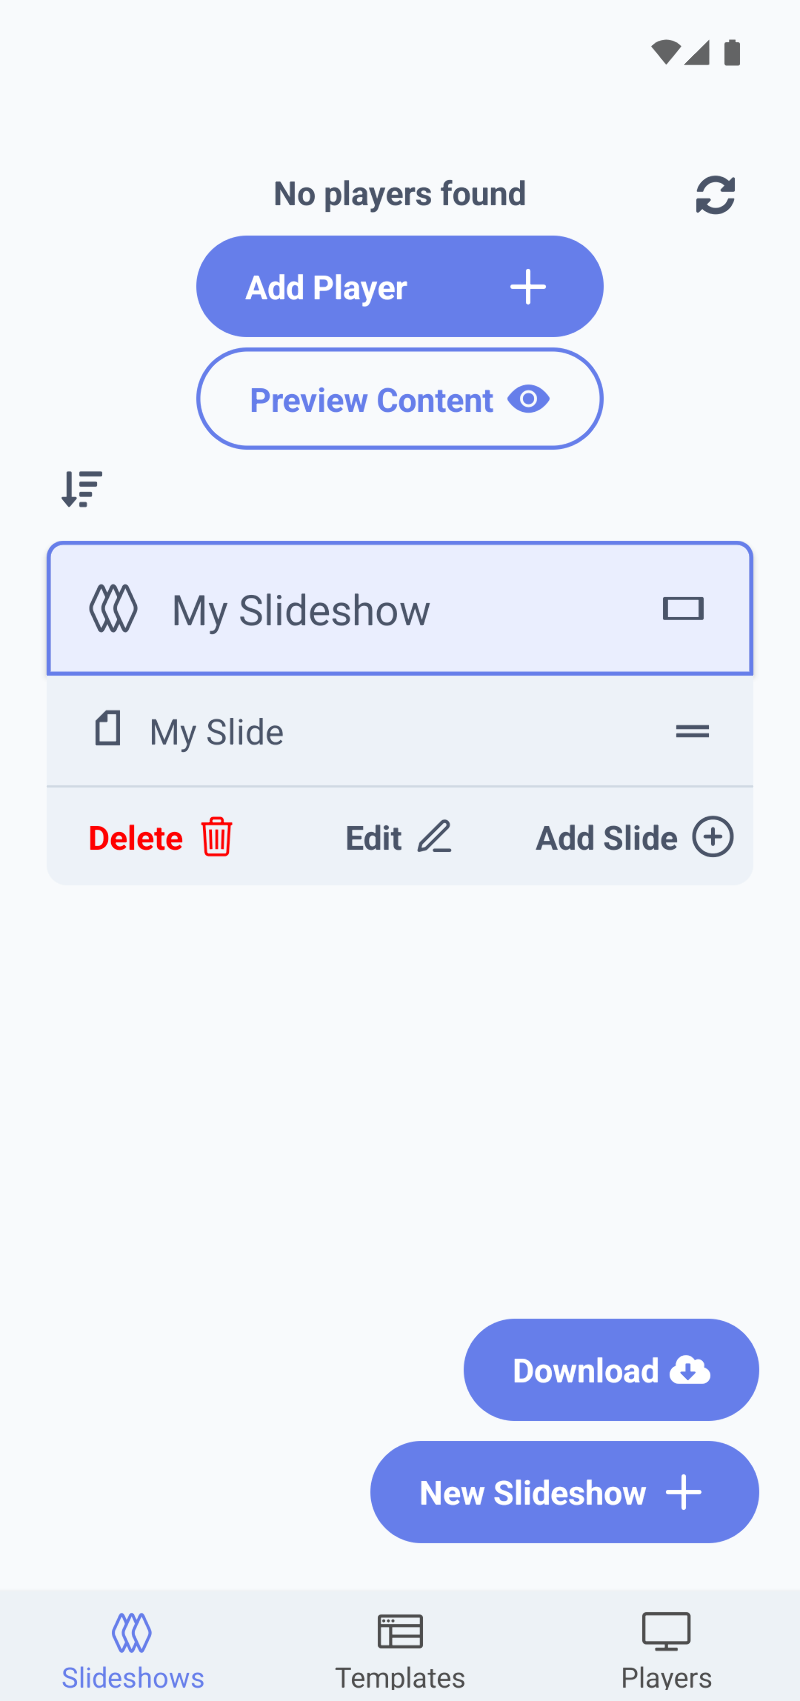
AD+Sign App - selecting a Slideshow - In New Page, give your new Slide a name and choose a Template before tapping 'Next'
- Templates can be downloaded to your device from the AD+Sign app via 'Find More Online'
- You can also choose your own Templates
- Optionally edit the Slide contents

AD+Sign App - Editing Slide contents - Title - primary text shown on the Slide
- Body Text - secondary text shown on the Slide
- Slide Duration - How long the Slide will be shown for, in seconds
If these fields are left blank, the Slide will use the Default Slide Duration and no text or tex boxes will be shown on-screen
- Tap 'Save' to add this Slide to your Slideshow and return to the Slideshows page
Your new Slide will be added to your Slideshow
Default Slide Duration
The Default Slide Duration is the amount of time your Slides will be shown on screen. To edit this:
- Tap the Slideshow in your Slideshow list to expand it, then tap 'Edit'
- In Slideshow Settings, enter the number of seconds you want your Slides to display for by default.
- E.g. 15
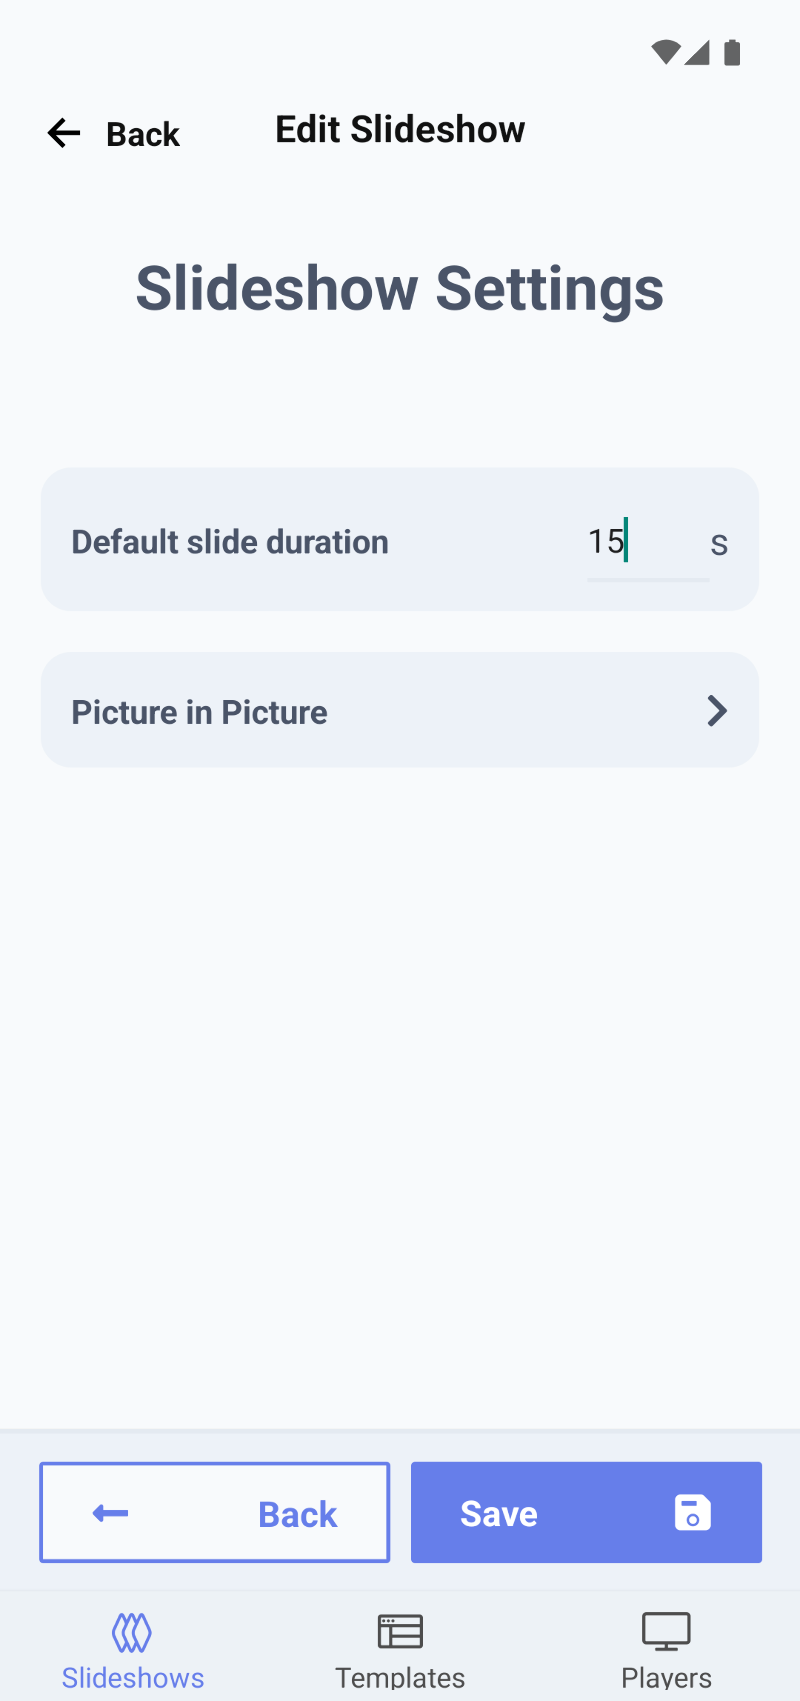
AD+Sign App - Slideshow Settings page - Tap 'Save' to save this change and return to the Slideshows page
Your Slideshow will be updated with your new Default Slide Duration