NEXT
How to integrate a DS-2 with 3rd Party HardwareHow to configure a DS-2's Hardware Settings in AD+Sign Pro
AD+Sign Pro
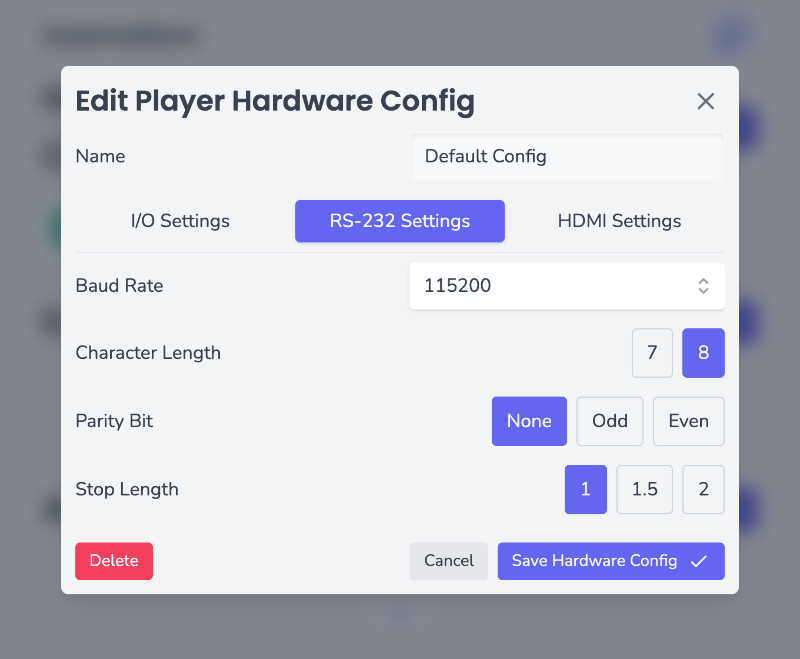
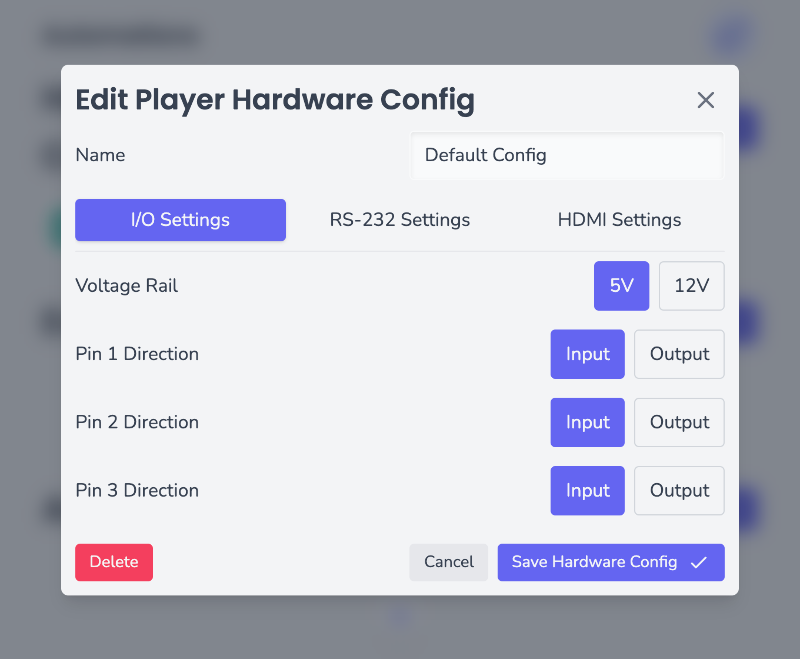
The AD+Sign DS-2 has a number of hardware settings that can be configured to suit your control and automation requirements. Hardware Configurations can be created once and applied to many DS-2 Players.
Creating a Hardware Config
- Navigate to the Automations page
- Click New Hardware Config
- Enter a name for your Hardware Config
- Configure the settings you need
- Click Create Hardware Config
Your Hardware Config will now be in your Organisation's Hardware Config list
Applying a Hardware Config
- Navigate to the Player you want to assign the Hardware Config to
- Ensure the Player is registered to a DS-2
- Navigate to the Automations tab
- Click the Settings Cog button

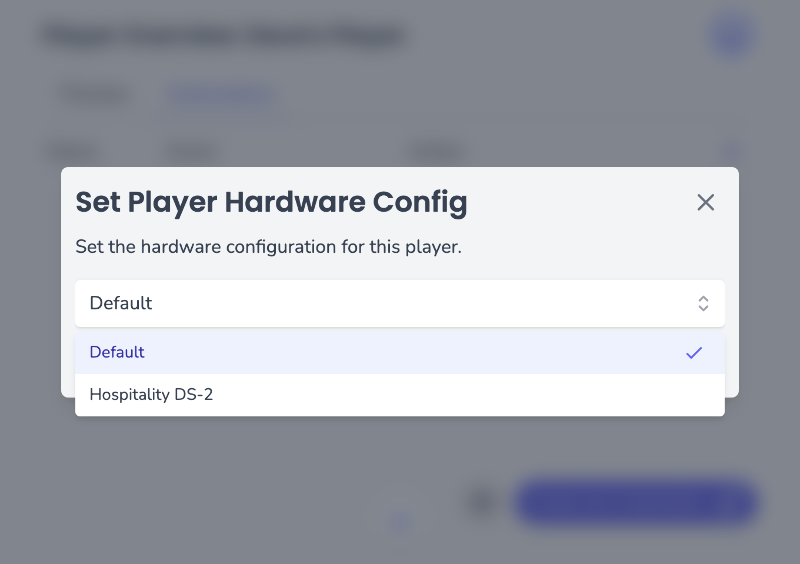
- Select the Hardware Config you want to assign
- Click Save
Editing a Hardware Config
- Find your Hardware Config in the Hardware Config list on the Automations page
- Click the Hardware Config you wish to edit
- Edit your Hardware Config's name or settings

- Click Save Hardware Config
Your Hardware Config will now be updated
Deleting a Hardware Config
- Find your Hardware Config in the Hardware Config list on the Automations page
- Click the Hardware Config you wish to delete
- Click Delete

- In the confirmation dialog, click Delete
Your Hardware Config will now be deleted